Making CSR & SSR & SSG Web apps using React and NextJS
Abdo Rakhma / July 01, 2020
7 min read

🌍 Overview#
NextJS is a framework built on top of React, that is used to create server-side rendering and static-generated web applications. NextJS provides tools that make creating fast and scalable web applications easy 🙌
Some of the advantages of using NextJS:
- Rendering React components in the server.
- Generating Static sites, check out my other article where I talk about The Jamstack and all its benefits.
- Intuitive routing, when you access a URL, you access a file with that name! easy.
- Everything is pre-configured, No need to spend hours configuring Webpack.
- Flexible, everything can be customized, without thinking about
Ejectingyour CRA. - Automatic code splitting, No worries about heavy JS files containing what you don't need.
In this article, I will try to explain the 3 possible ways of creating web applications using NextJS. All the source code for this guide can be found in my Github repo: https://github.com/Sletheren/ssr-and-ssg-with-nextjs without further ado, let's kick it off ⚽️
🛠 Setting up#
First, let's create a fresh project, there are two ways of doing it:
- Manual by initializing a project and adding all the necessary dependencies from npm.
- From a template using a starter-template provided by NextJS. I will go with the latter since it's quicker and easier.
Open your terminal, and paste this command to create a project using a default boilerplate:
npm init next-app starwars --example "https://github.com/vercel/next-learn-starter/tree/master/learn-starter"
This will create a project called Starwars-nextjs in the current directory, The most important folders for now are:
- Pages this folder will contain our pages, each file inside this folder will be rendered as a page and its name will be the URL of the page. Per example, if you try to access
http://localhost:3000/about, then NextJS will automatically look for a page calledabout.jsinside thepagesdirectory, or if you try to accesshttp://localhost:3000/content/my-hobbiesthen again, NextJS will look for a file calledmy-hobbiees.jsinside/pages/content/, pretty intuitive isn't it? - Public is where you put all your public assets (icons, images, fonts, ...etc)
Of course, You have the liberty of creating folders for your components, layouts..etc, NextJS doesn't limit you, just put everything else that is not a page outside the pages folder 😉
✅ Using Client-side rendering#
Let's try first to demonstrate how to create a Client-side rendered page without SSR, so you can compare the results.
First, let's use Swapi to retrieve data about Starwars films.
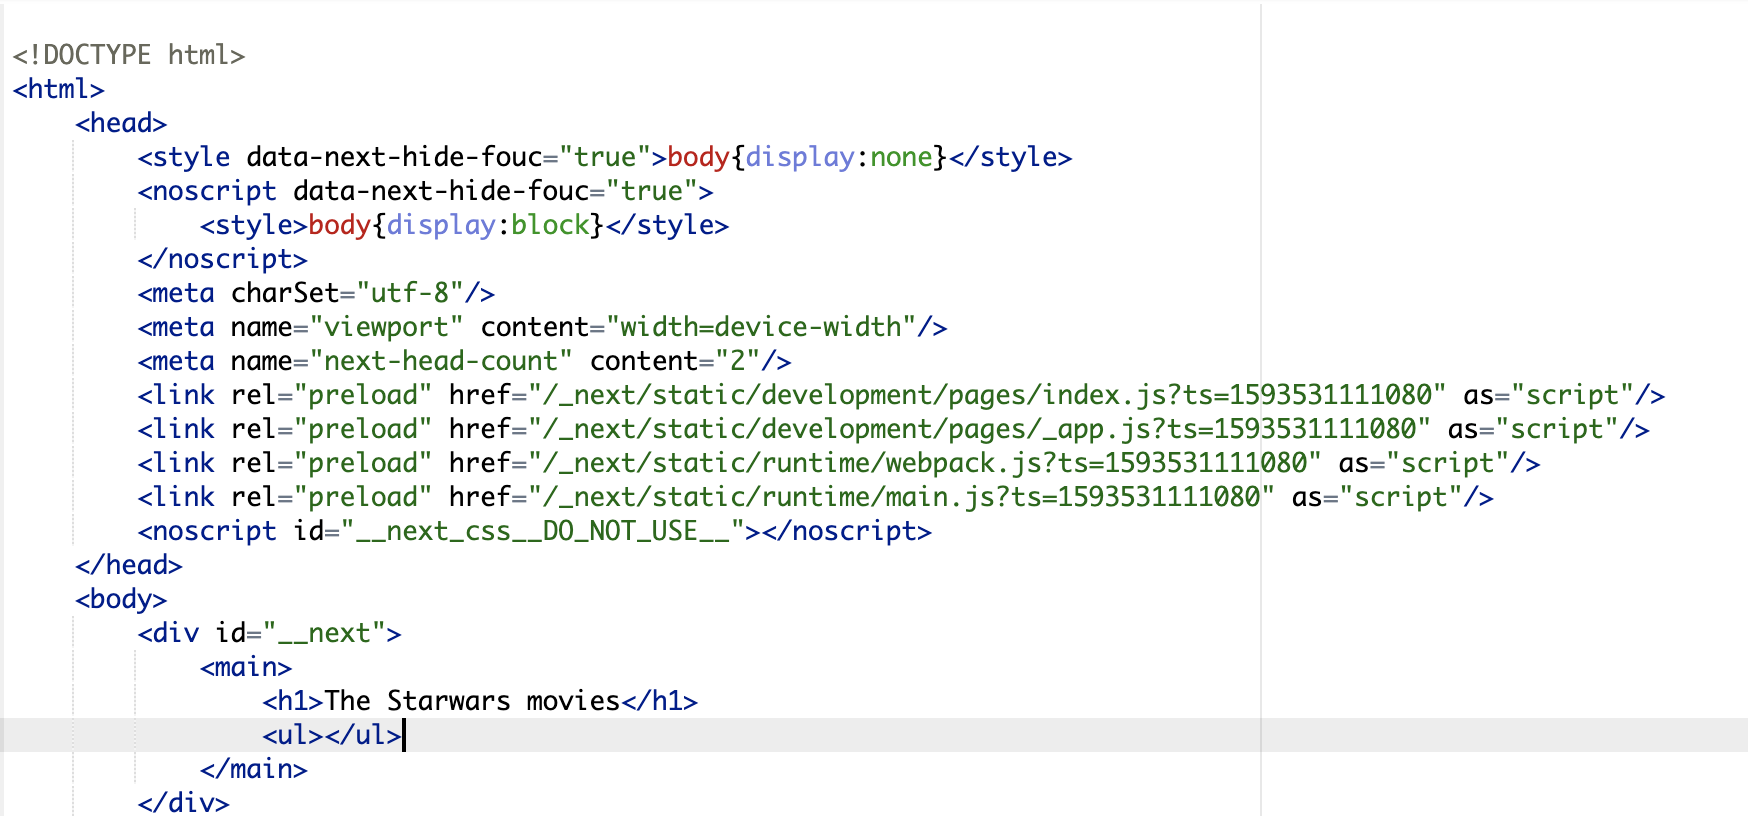
I will create a file under /pages/csr.js, which can be accessed by visiting: http://localhost:3000/csr/ as I explained earlier
import React, { useState, useEffect } from 'react'
import fetch from 'isomorphic-unfetch'

const Home = () => {
  const [data, setData] = useState([])
  useEffect(() => {
    const getData = async () => {
      const response = await fetch('https://swapi.dev/api/films/')
      const data = await response.json()
      setData(data.results)
    }
    getData()
  })
  return (
    <main>
      <h1>The Starwars films</h1>
      <ul>
        {data.map(item => (
          <li key={item.name}>{item.name}</li>
        ))}
      </ul>
    </main>
  )
}

export default Home
Here I simply fetch from SWAPI a list of Starwars films and display them in an unordered list.
I use React Hooks here, so when mounting this component, the data is fetched and displayed, same as we all do in our "classic" React components.
To see the result, execute the following command to run the project locally, (it will be visible when you visit http://localhost:3000)
npm run dev
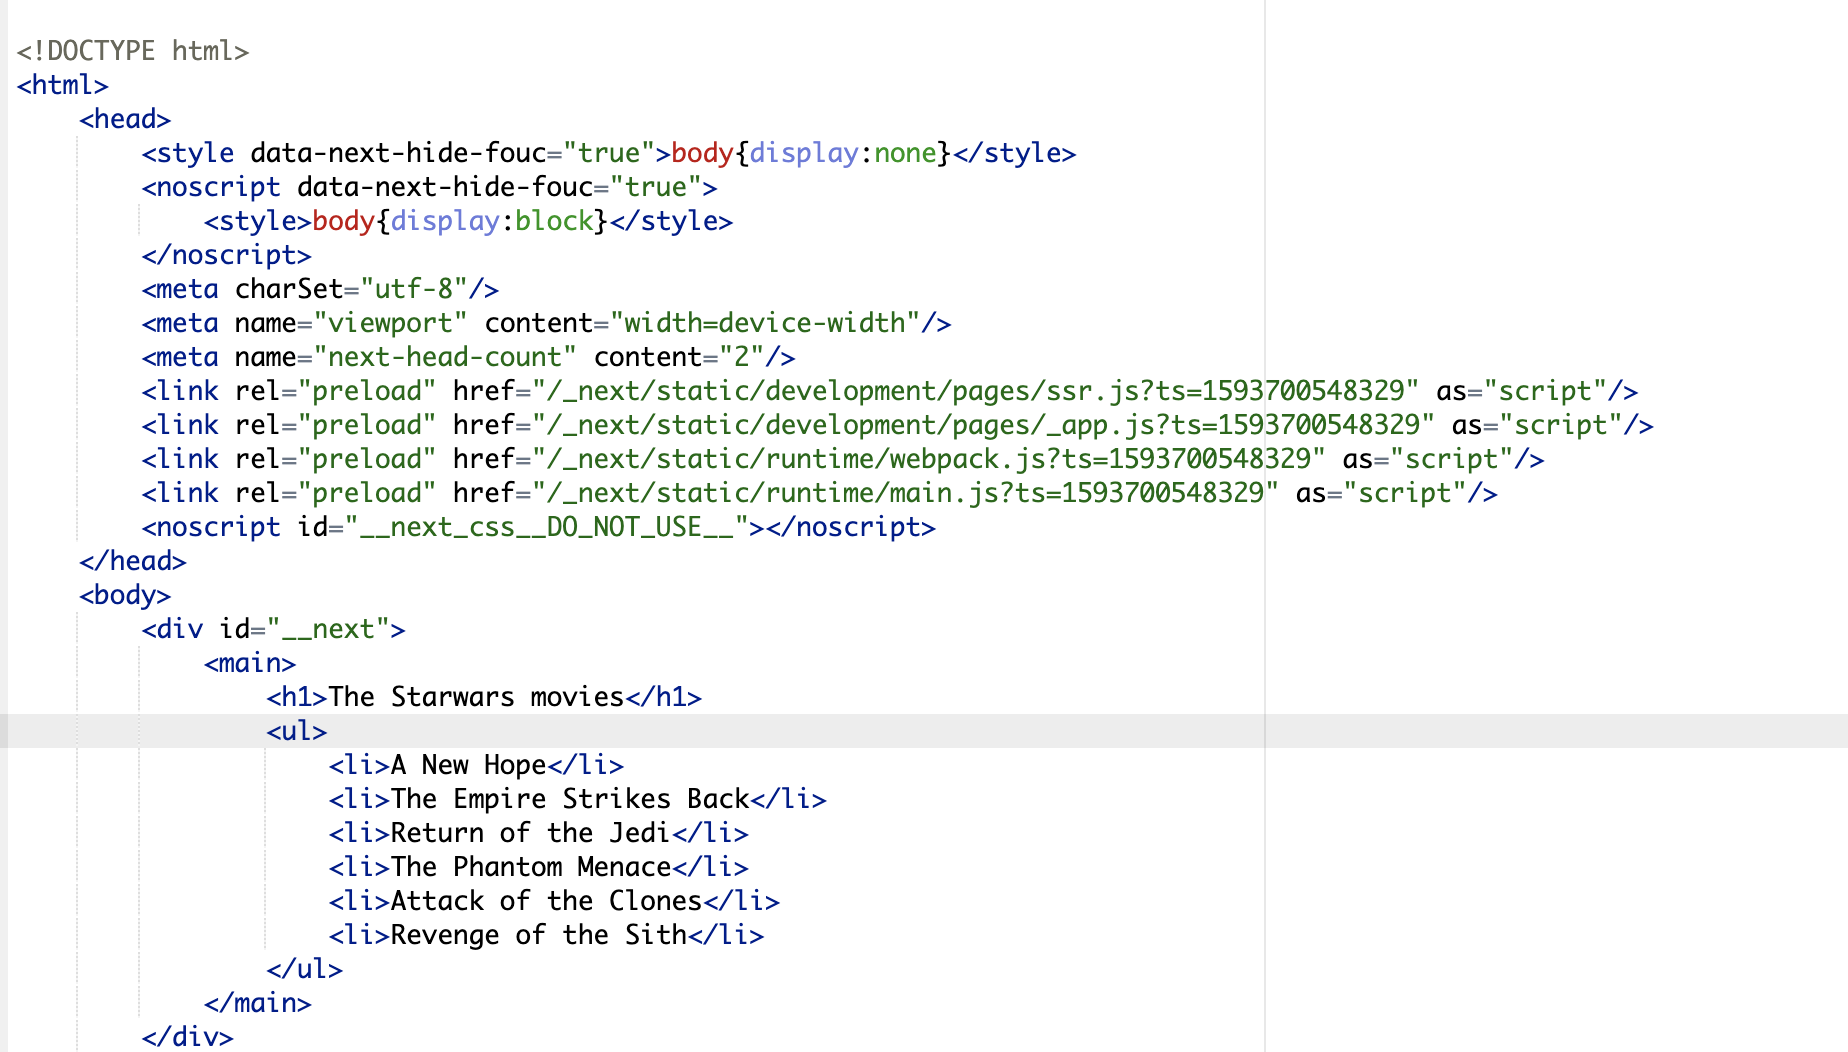
And Voila! You can see the list of Starwar's cool films! but hold on a sec, if you try to inspect the source code of the page, you will find it's empty 😣 Of course, because the data is fetched Client-side.
Next we will see how we can do this Server-side 😎
✅ Using Server-side rendering#
Let's reuse the same example, but instead of fetching data in the client-side, We're gonna generate the list of the films from the server! meaning that when users request the page, they're gonna be served an HTML page with all the data fetched on the server-side. To do that, we need to use one of NextJS Magic functions called: GetServerSideProps The example above becomes:
const Home = ({ data }) => {
  return (
    <main>
      <h1>The Starwars films</h1>
      <ul>
        {data.map(item => (
          <li key={item.name}>{item.name}</li>
        ))}
      </ul>
    </main>
  )
}

export async function getServerSideProps (context) {
  const response = await fetch('https://swapi.dev/api/films/')
  const data = await response.json()
  return { props: { data: data.results } }
}

export default Home
When you export a GetServerSideProps function from your page, the server executes it server-side and generates the content of the file using the data returned from the function. When inspecting the file source, we will notice that this time we have our data generated already and available in the HTML response
The only thing to keep in mind is that by using GetServerSideProps data-fetching will happen on Every request, meaning that if 100 users request this page, then there will be 100 requests to the SWAPI API.
This function comes in handy and should be used only when you care about the request itself! meaning that the final result can be different from a user to another.
The GetServerSideProps function takes one parameter context which holds the request & response objects alongside with other stuff that you can check NextJS documentations 💁🏼♂️
✅ Using Static-site generation#
As we saw in the last example, the page can be generated from the server on each request, this works, but since the data, we fetch from the API is Static, we can generate the page in Build-time and by doing that, the users will get the results even faster because the HTML pages will be generated already and ready to be served. NextJS allows us to do so using another Magic function called getStaticProps, this function gets executed on build-time and the page gets built with all the necessary data! let's rewrite our example using getStaticProps
const Home = ({ data }) => {
  return (
    <main>
      <h1>The Starwars films</h1>
      <ul>
        {data.map(item => (
          <li key={item.name}>{item.name}</li>
        ))}
      </ul>
    </main>
  )
}

export async function getStaticProps (context) {
  const response = await fetch('https://swapi.dev/api/films/')
  const data = await response.json()
  return { props: { data: data.results } }
}

export default Home
You can see that there wasn't much changed, just the name of the function! Now to see the generated page, run this command
npm run build && npm run export
After running this command, NextJS will build the project, the output of the building-phase will be located inside /out folder in the root.
When you open the folder you will find that it holds your project files pre-generated!
You can now just put the content of this folder in a CDN and your website will be ready to be served without the need of a server since everything is Statically Generated 💥
👀 Final thoughts#
Using NextJS gives us a whole lot of possibilities on how to develop our Web applications, from the classic Client-side rendering, to generating HTML in the server which allows the possibility of making the web apps SEO Friendly + being able to rank in Search engines. And lastly, to generate the HTML on build-time as a static site and deploying to a CDN which makes the responses faster and reduces the costs of having servers to handle requests.